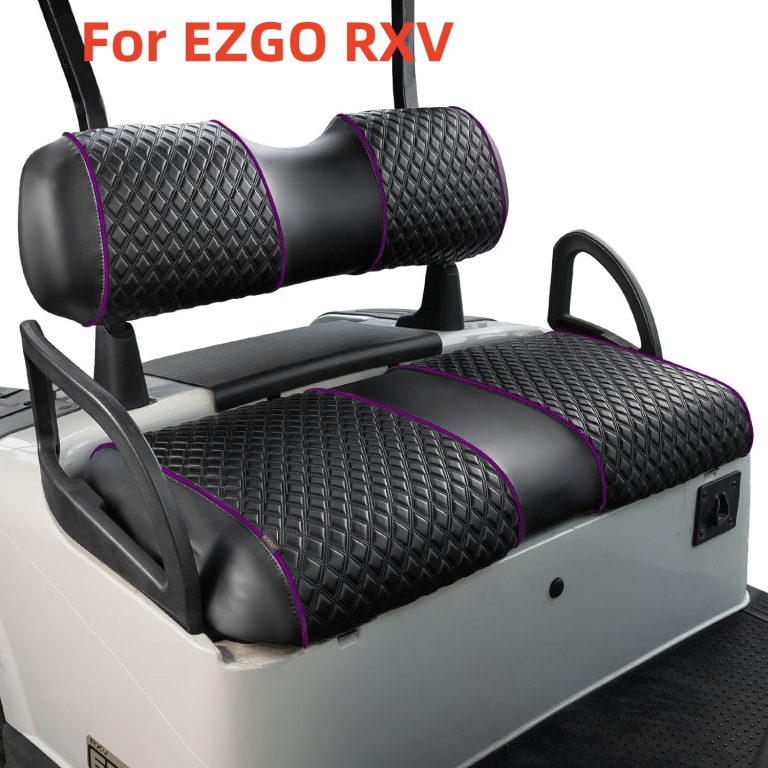
The Nokins Seat Cover is a popular choice among Club Car owners looking to enhance the comfort and style of their golf carts. One of the most common questions asked by prospective buyers is whether the installation of the Nokins Seat Cover is easy. In this article, we will delve into the installation process of the Nokins Seat Cover and explore why it is indeed a straightforward and hassle-free task.
Understanding the Installation Process
Installing the Nokins Seat Cover is a simple process that requires minimal time and effort. The seat cover comes with comprehensive installation instructions that guide users through each step of the process. These instructions are designed to be user-friendly, making it easy for Club Car owners to install the seat cover themselves without the need for professional assistance.


Step-by-Step Guide to Installation
- Preparation: Before beginning the installation process, it is essential to gather all the necessary tools and materials. These typically include the Nokins Seat Cover, any additional accessories provided, and basic tools such as scissors or a utility knife.
- Seat Removal (if required): Depending on the design of the Club Car seats and the specific model of the Nokins Seat Cover, seat removal may be necessary. If required, carefully remove the existing seat cover or cushion to prepare the seat for the installation of the Nokins Seat Cover.
- Positioning: Place the Nokins Seat Cover over the Club Car seat, ensuring that it aligns correctly and covers the entire seating area. Take care to tuck any excess fabric neatly around the edges for a clean and professional finish.
- Attachment: Secure the Nokins Seat Cover in place using the provided attachment methods. This may involve fastening straps, clips, or other securing mechanisms included with the seat cover. Ensure that the seat cover is securely attached to prevent shifting or movement during use.
- Adjustment: Once the seat cover is securely attached, make any necessary adjustments to ensure a snug and comfortable fit. Smooth out any wrinkles or creases in the fabric and adjust the tension of the attachment straps as needed.
- Final Inspection: After completing the installation process, take a moment to inspect the seat cover and ensure that it is properly installed. Check for any loose or insecure attachment points and make any final adjustments as necessary.
Benefits of Easy Installation
The ease of installation offered by the Nokins Seat Cover brings several benefits to Club Car owners:
- Time Savings: The straightforward installation process saves time, allowing Club Car owners to quickly and easily upgrade their seats without lengthy or complicated procedures.
- Cost Savings: By eliminating the need for professional installation services, Club Car owners can save money and enjoy the benefits of the Nokins Seat Cover at a fraction of the cost.
- Convenience: With no specialized tools or expertise required, installing the Nokins Seat Cover is convenient and accessible to users of all skill levels. Club Car owners can enjoy the benefits of their new seat cover with minimal effort.
- Flexibility: The easy installation process allows Club Car owners to customize their seats quickly and easily, adapting to changing preferences or style preferences without hassle.
Conclusion
In conclusion, the installation of the Nokins Seat Cover is indeed easy and straightforward, offering Club Car owners a hassle-free way to enhance the comfort and style of their golf carts. With comprehensive installation instructions and user-friendly attachment methods, installing the Nokins Seat Cover is a simple task that can be completed quickly and easily by users of all skill levels. Experience the benefits of the Nokins Seat Cover and enjoy a fresh, comfortable, and stylish seating experience on your Club Car.
